- Arduino Ventuno Q: Quick Benchmarks and Mainline Linux Guide
- First Look: Ventuno Q — How to Boot, Test and Benchmark
- Ventuno Q Guide: Mainline Linux, Storage, CPU and I/O Tests
Summary
This is a practical first-look guide for developers who want to boot the Arduino Ventuno Q, run mainline Linux, and gather real-world benchmarks (CPU, storage, network, and I/O). You’ll learn how to extract accurate hardware info from the running system, how to run repeatable benchmarks, and what to check to confirm mainline kernel compatibility. Advantages: reproducible tests for choosing SBCs, actionable steps to verify mainline support, and low-cost methods to evaluate performance and power.
Minimal parts and tools
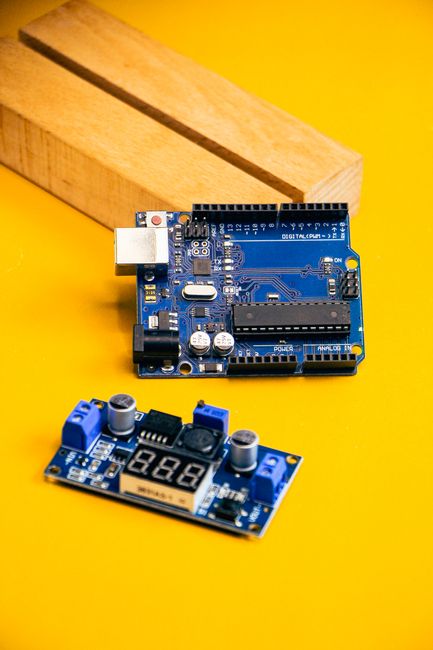
- Arduino Ventuno Q board (or evaluation kit)
- microSD card (class 10 or better) or eMMC as applicable
- USB-C / USB-A power supply (board-rated)
- USB serial (TTL) adapter (3.3V) for console
- Ethernet cable (or Wi-Fi where applicable)
- SD-card reader, HDMI monitor and keyboard if you want local UI
- Optional: USB power meter, multimeter
Quick prep — image flashing & serial console
- Get an official or community mainline-based image (Armbian/official distro). If none available, boot vendor image and verify kernel version first.
- Flash to microSD:
sudo dd if=ventuno-image.img of=/dev/sdX bs=4M conv=fsync status=progress
or use balenaEtcher. 3. Connect serial console (check board pinout for TX/RX/GND). Typical adapter settings: 115200,8,N,1. 4. Boot and log in.
Verify kernel and hardware info
Check kernel and basic CPU info:
uname -a
cat /proc/cpuinfo
lscpu
Check device tree / model strings:
cat /proc/device-tree/model 2>/dev/null || cat /sys/firmware/devicetree/base/model 2>/dev/null
Check loaded drivers and dmesg for mainline messages:
dmesg | sed -n '1,200p'
lsmod
If uname shows a recent mainline kernel (e.g., 6.x series depending on current mainline), see whether vendor drivers are present or kernel logs show out-of-tree modules.
Confirming mainline Linux compatibility
Mainline compatibility is about kernel drivers and DTBs living in mainline source rather than vendor forks.
- Steps to inspect: check
uname -rfor kernel version, inspectdmesgfor warnings like “out-of-tree module”. - For device nodes (I2C, SPI, GPIO) verify kernel exports:
ls /dev/i2c-*   # for I2C
ls /sys/class/gpio   # for GPIO
- If you plan to compile, clone mainline and look for the board DTB or driver patches in upstream:
git clone https://git.kernel.org/pub/scm/linux/kernel/git/torvalds/linux.git
# search for vendor/ventuno or relevant SoC driver directories
If mainline doesn't fully support the board yet, use vendor kernel but prioritize checking whether patches are upstreamable.
Benchmarks — methodology
Run tests from a fresh boot, document ambient temperature, and repeat each test 3 times. Disable CPU frequency scaling for consistent results or record governor settings:
cat /sys/devices/system/cpu/cpu*/cpufreq/scaling_governor
sudo cpupower frequency-set -g performance   # or install cpupower
CPU (sysbench):
sudo apt update && sudo apt install sysbench -y
sysbench --test=cpu --cpu-max-prime=20000 --num-threads=4 run
Increase cpu-max-prime or num-threads to stress more.
Storage — sequential (dd) and random (fio):
# sequential write (sync)
sync; dd if=/dev/zero of=/tmp/testfile bs=4M count=256 oflag=direct conv=fsync
# basic fio random 4k read/write test
sudo apt install fio -y
fio --name=randrw --ioengine=libaio --direct=1 --bs=4k --size=512M --numjobs=4 --rw=randrw --rwmixread=70
Network — iperf3:
# on server machine
iperf3 -s
# on Ventuno Q client
iperf3 -c <server-ip> -P 4 -t 30
Power & thermals:
- Use a USB power meter inline with the board supply to measure idle vs load current.
- Use
sensorsorcat /sys/class/thermal/thermal_zone*/tempif available.
Record and compare throughput, latency and stability over time. Watch dmesg for thermal throttling or kernel warnings during tests.
GPIO, I2C, SPI smoke-tests
Install i2c-tools and bump EEPROM/ADC drivers when present:
sudo apt install i2c-tools -y
i2cdetect -y 1
Use spidev tools or small Python scripts (RPi.GPIO or libgpiod) to toggle pins. Verify documentation for voltage levels before connecting hardware.
Alternatives & trade-offs
- Raspberry Pi ecosystem: larger community, many OS images, predictable mainline support (but some drivers historically lag). Better for media/desktop use.
- NXP/Arm SoC evaluation boards: often faster I/O or richer peripherals for industrial use; sometimes require vendor kernels.
- Rockchip/Allwinner-based SBCs: good cost-to-performance but mainline support varies by vendor and SoC.
Trade-offs to consider:
- Mainline support vs performance: vendor kernels may squeeze more performance or peripherals initially, but increase maintenance burden.
- Thermal management: compact boards may throttle under sustained load; you may need heatsinks or active cooling.
- Community and software ecosystem influence long-term viability.
Tips, pitfalls, gotchas
- Always confirm the board’s required voltage and current; under-powered USB supplies cause instability during benchmarks.
- Use
syncandoflag=direct(or fio direct=1) to avoid caching effects in storage tests. - Reboot between major tests or clear caches (
echo 3 > /proc/sys/vm/drop_caches) for consistency. - Watch kernel logs during tests — an otherwise “fast” result is useless if the kernel panics or drops drivers.
- If mainline drivers are missing, upstreaming vendor patches can be nontrivial; expect to run a vendor kernel for production in that case.
Conclusion
This guide gives a repeatable workflow to boot the Ventuno Q under Linux, verify mainline compatibility, and collect useful CPU, storage, network and power benchmarks without guessing specs. The emphasis is on reproducibility: capture kernel version, test parameters, and environmental conditions. Use the commands above to gather verifiable data and compare the Ventuno Q against alternatives based on the metrics that matter to your project (I/O, network, thermal behavior, and long-term kernel support).
Parts & Tools
- Arduino Ventuno Q development board
- Arduino Ventuno Q evaluation kit
- microSD card Class 10 UHS-I 32GB
- eMMC module for SBC
- USB-C power adapter 5V 3A
- USB-A power adapter 5V 2.4A
- USB TTL serial adapter 3.3V (FTDI/CP2102)
- Ethernet cable Cat6
- USB Wi-Fi adapter
- USB microSD card reader
- HDMI monitor 1080p
- HDMI cable
- USB keyboard
- USB power meter USB-C
- Digital multimeter
- Dupont jumper wires female to female
- Solderless breadboard kit
- Bidirectional logic level converter 3.3V 5V
- I2C EEPROM breakout 24C32
- SPI flash breakout module
- SBC heatsink kit
- 30mm 5V cooling fan for SBC
- Small electronics screwdriver kit
- Assorted LED kit with resistors
- USB-C cable